I finally found the time to take a few snapshots of my Picade setup; I completed some months ago the hardware part - I still have to tweak a little Emulation Station, but all in all I’m almost there.
My highlights:
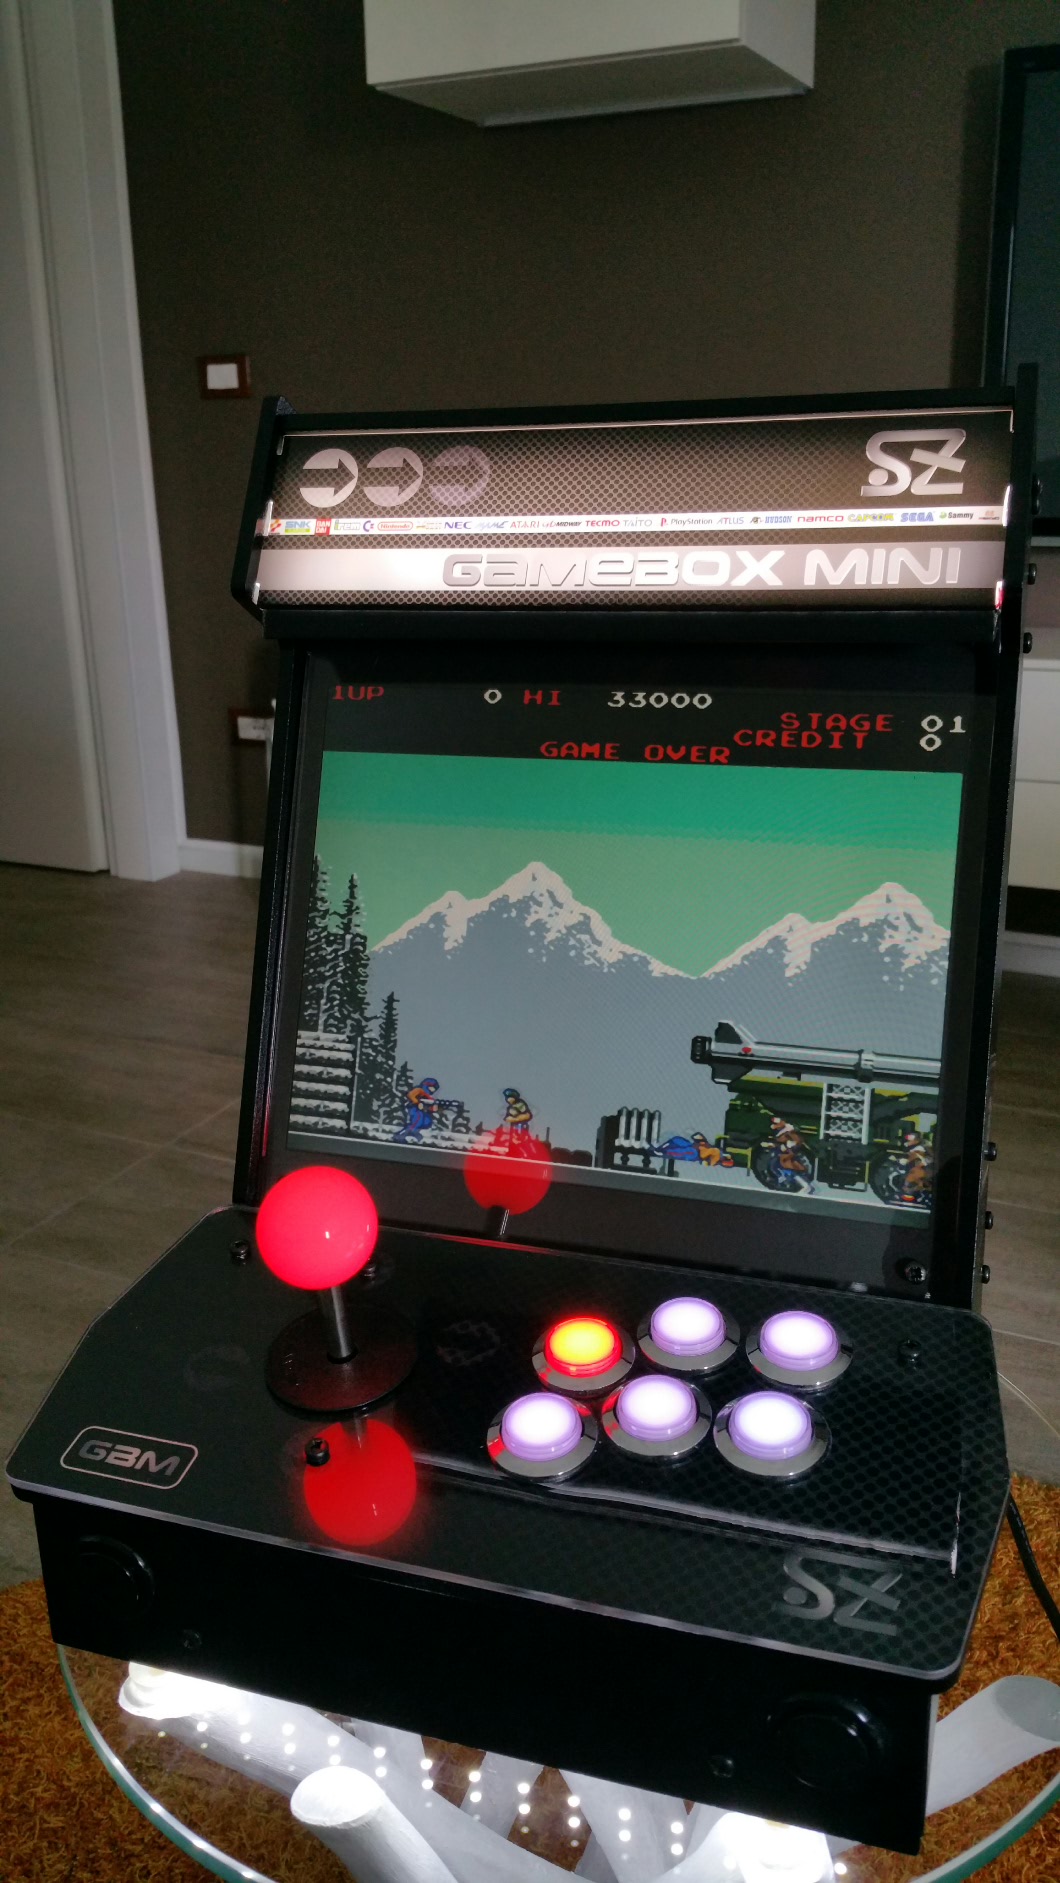
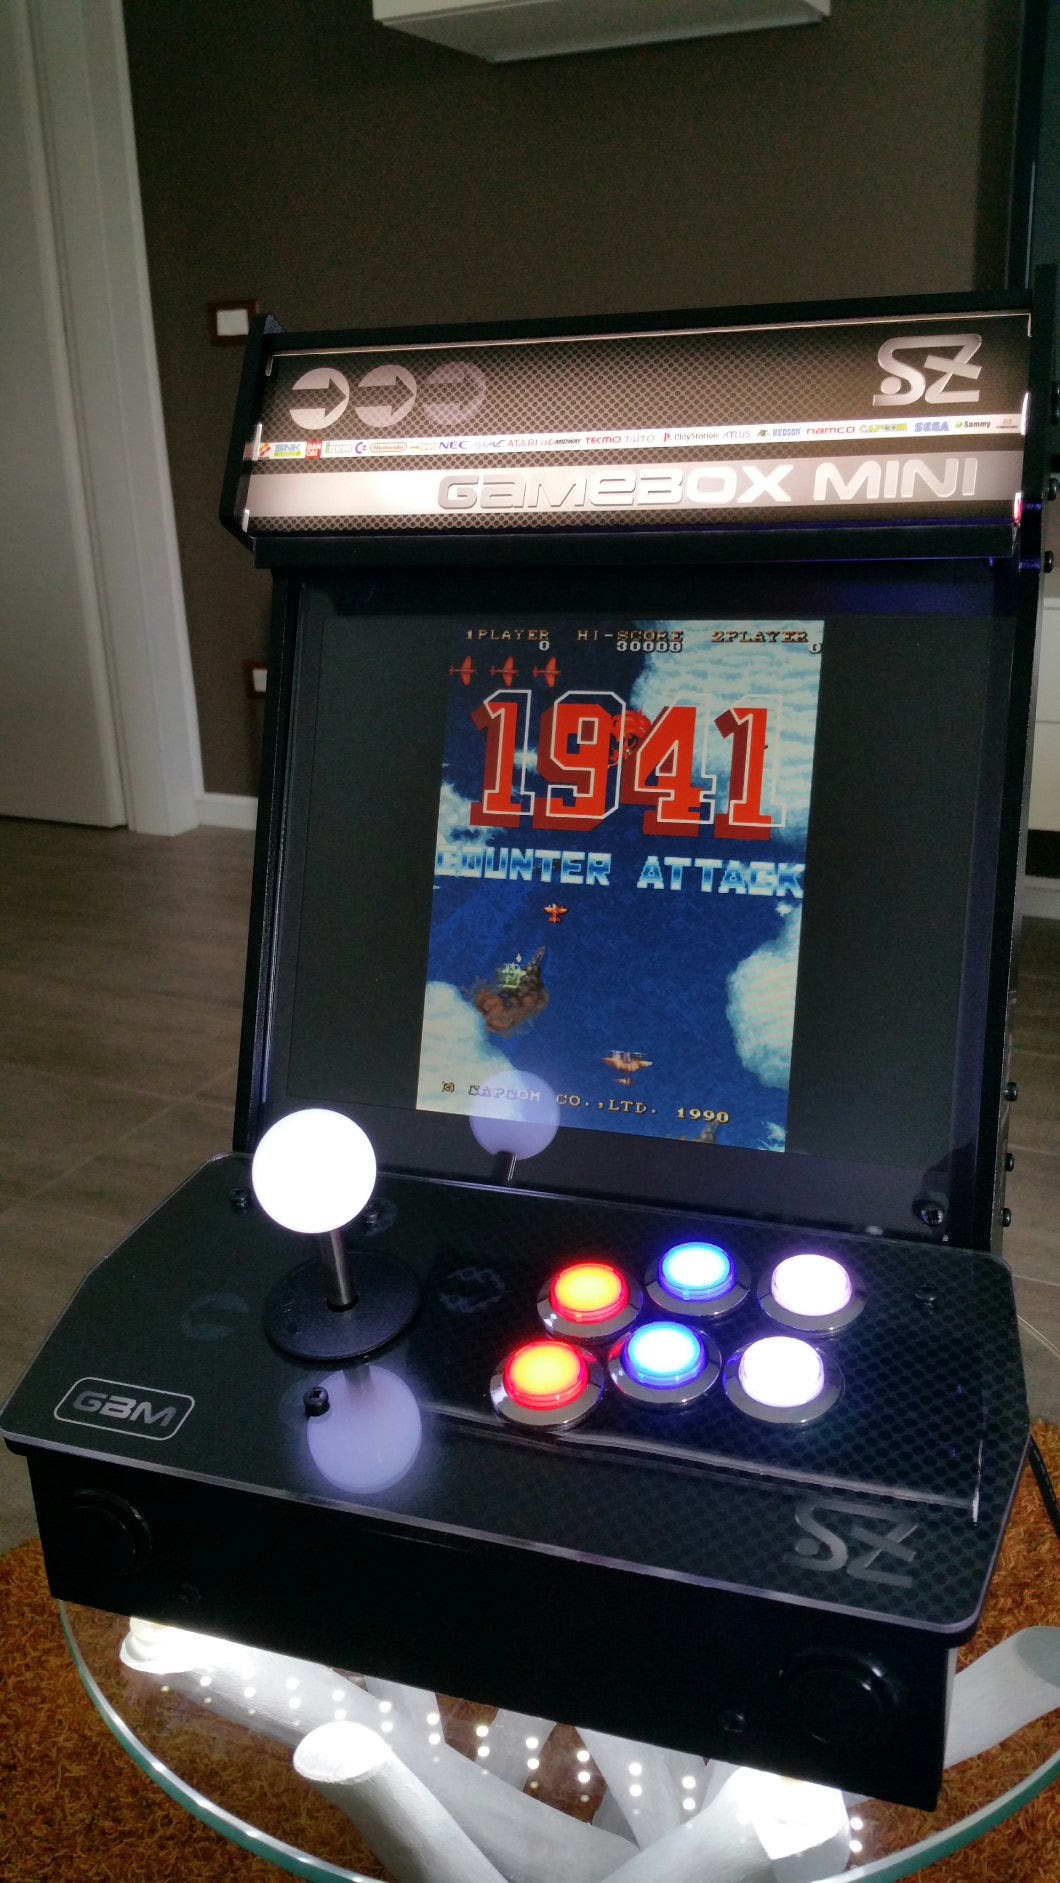
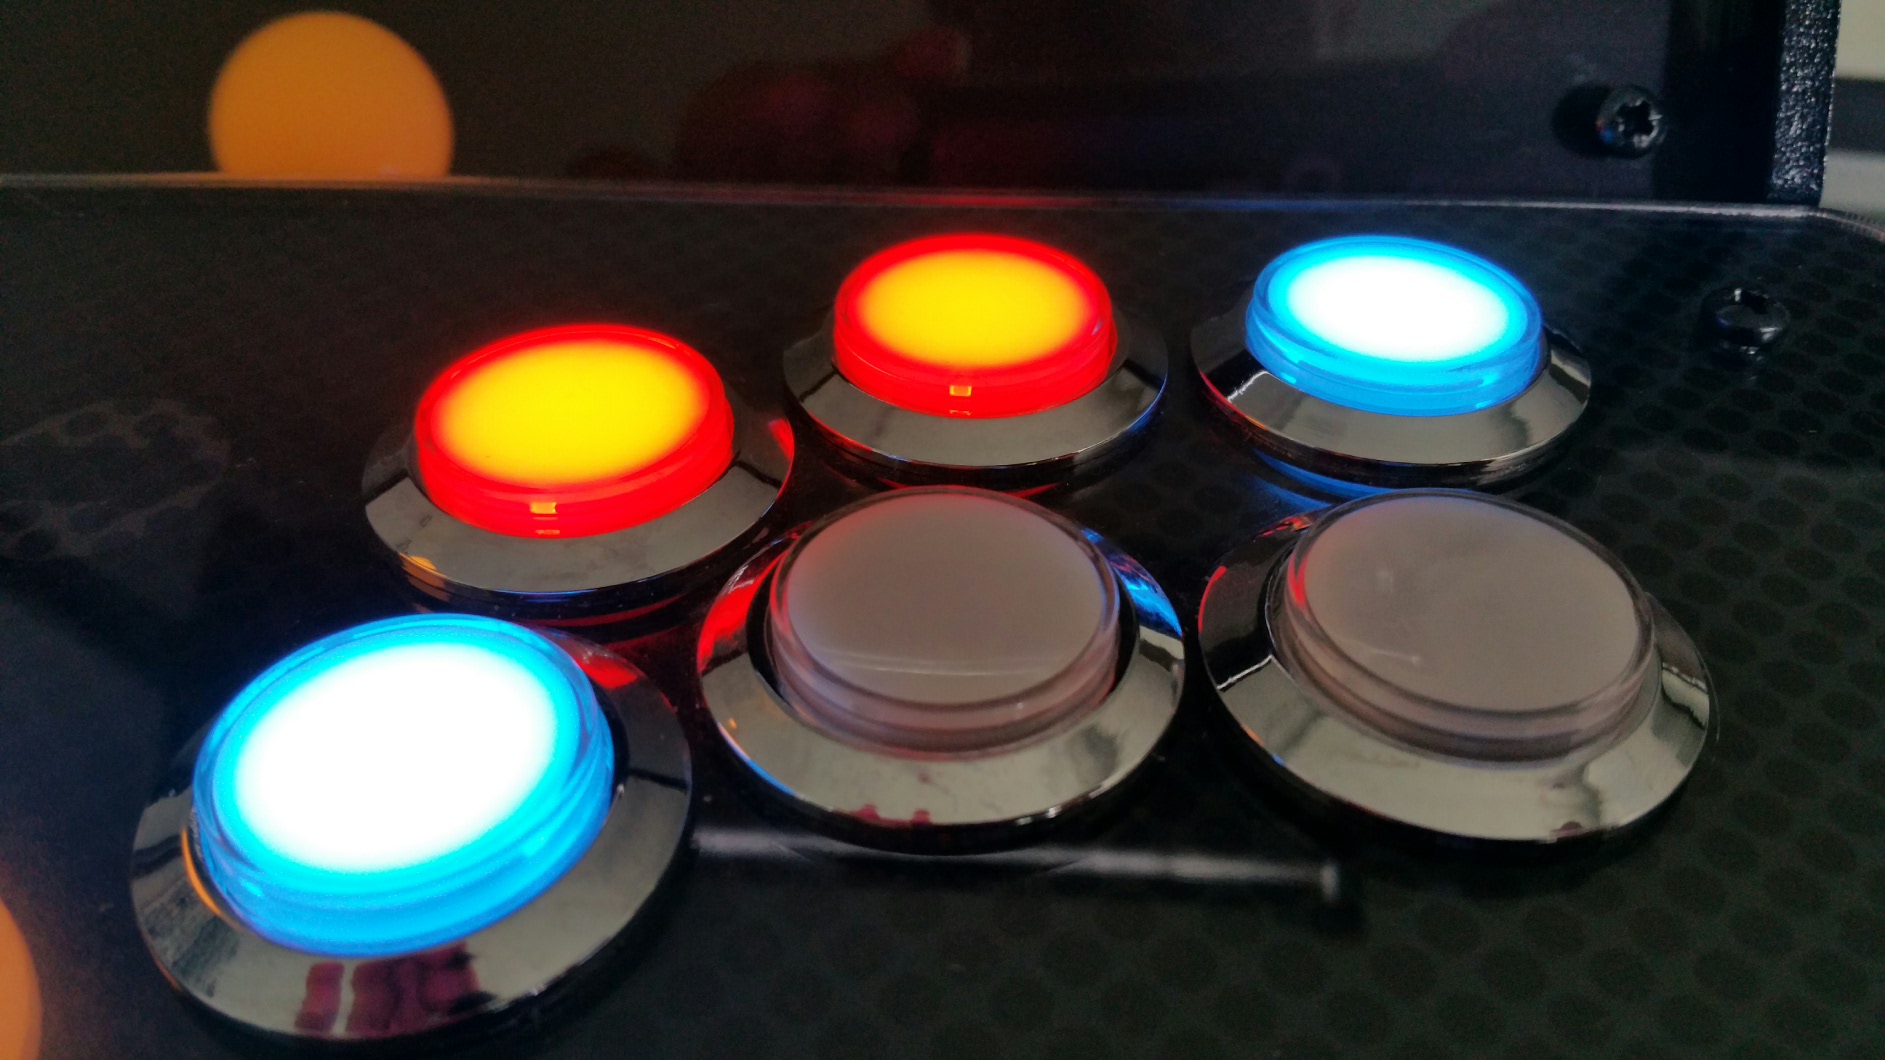
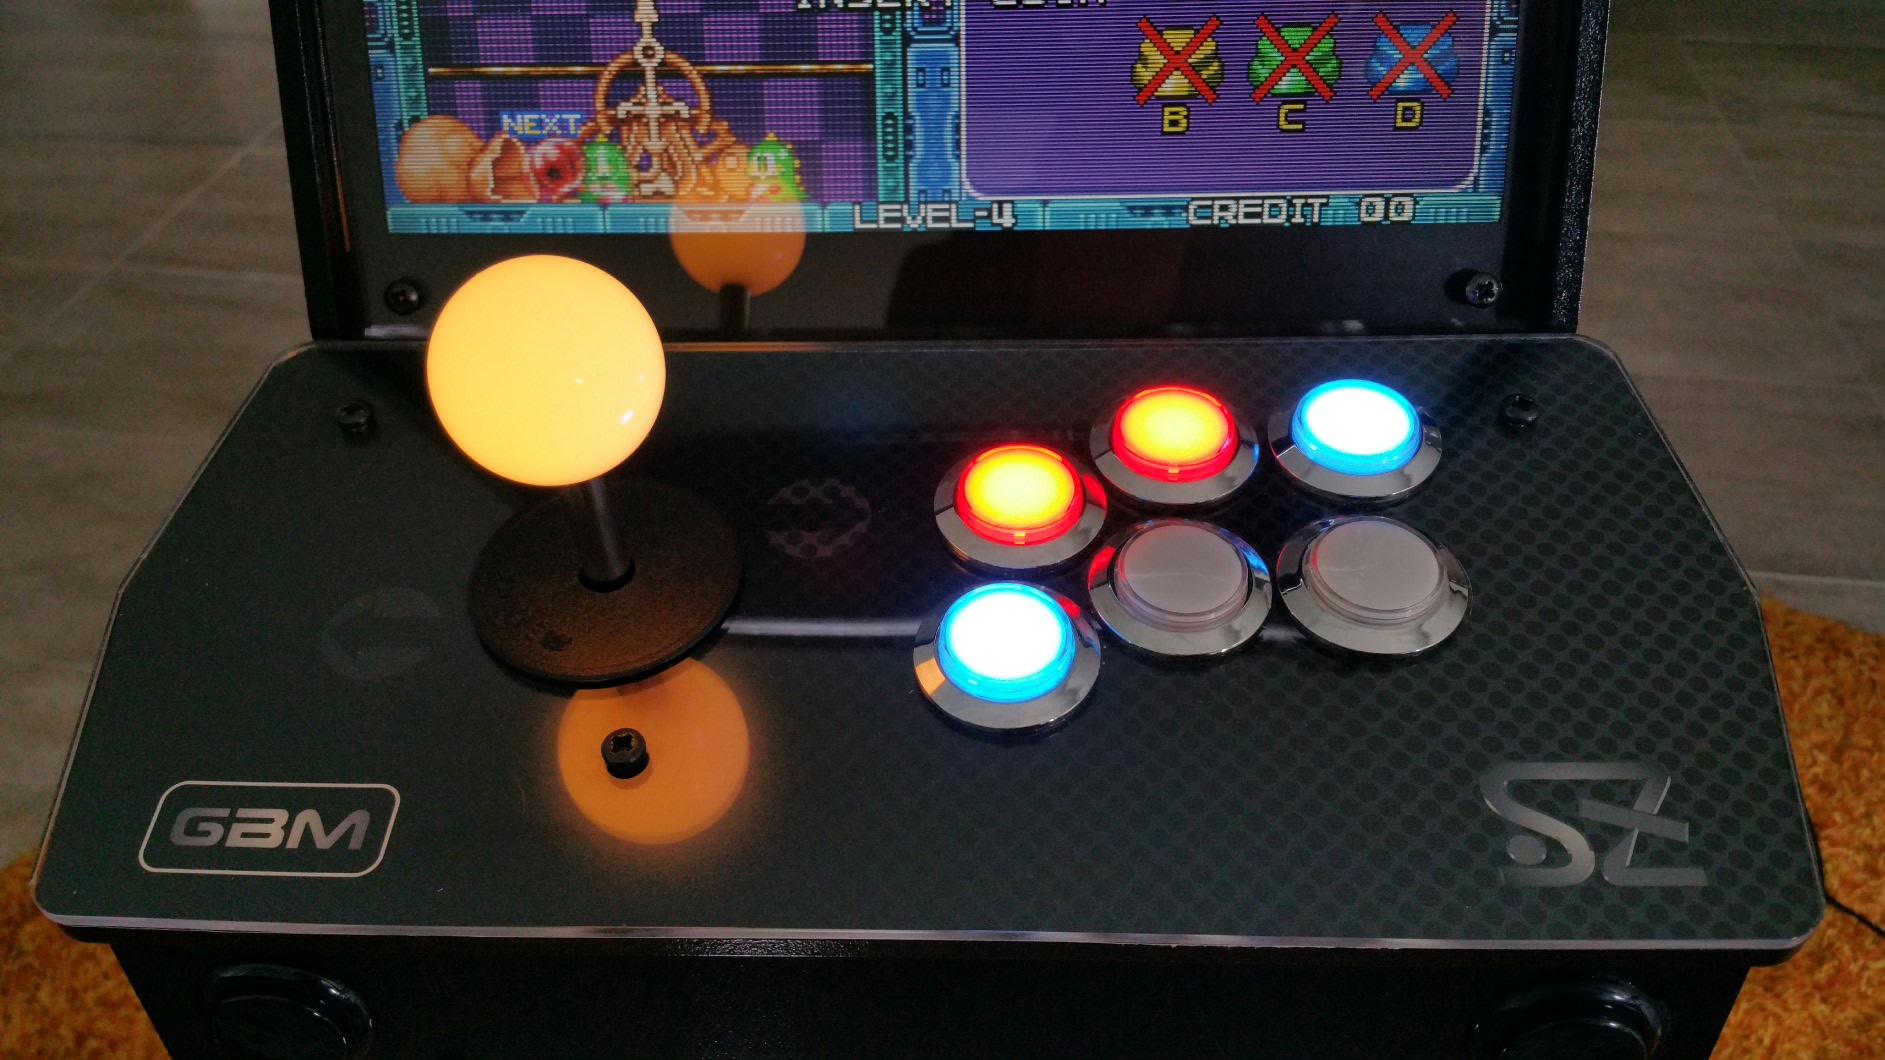
- RGB arcade buttons for the top panel, driven by Ultimarc PacLED 64 (https://www.ultimarc.com/pacled64.html)
- RGB Ultimarc ServoStik (https://www.ultimarc.com/servostik.html), software controlled using two buttons (to switch between 4/8 way)
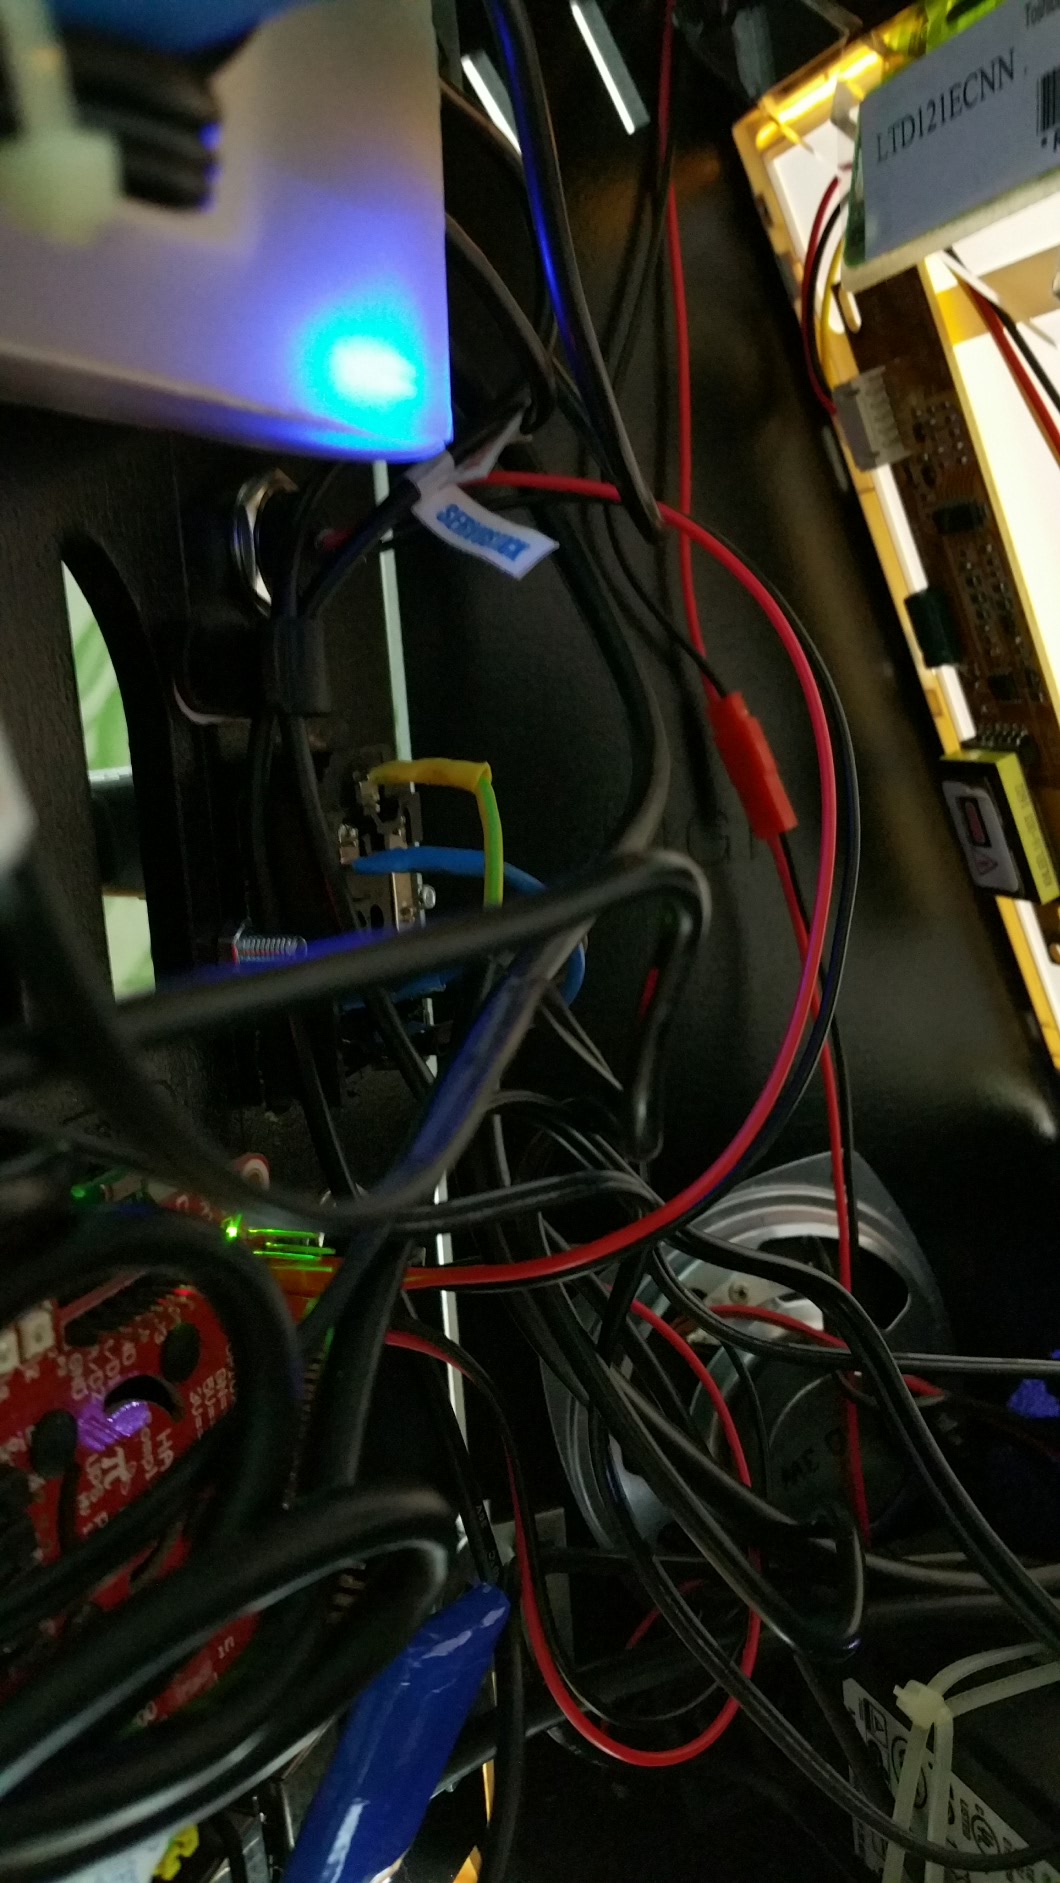
- 12.1 inch LCD panel
- backlit marquee
- LED strips on the bottom
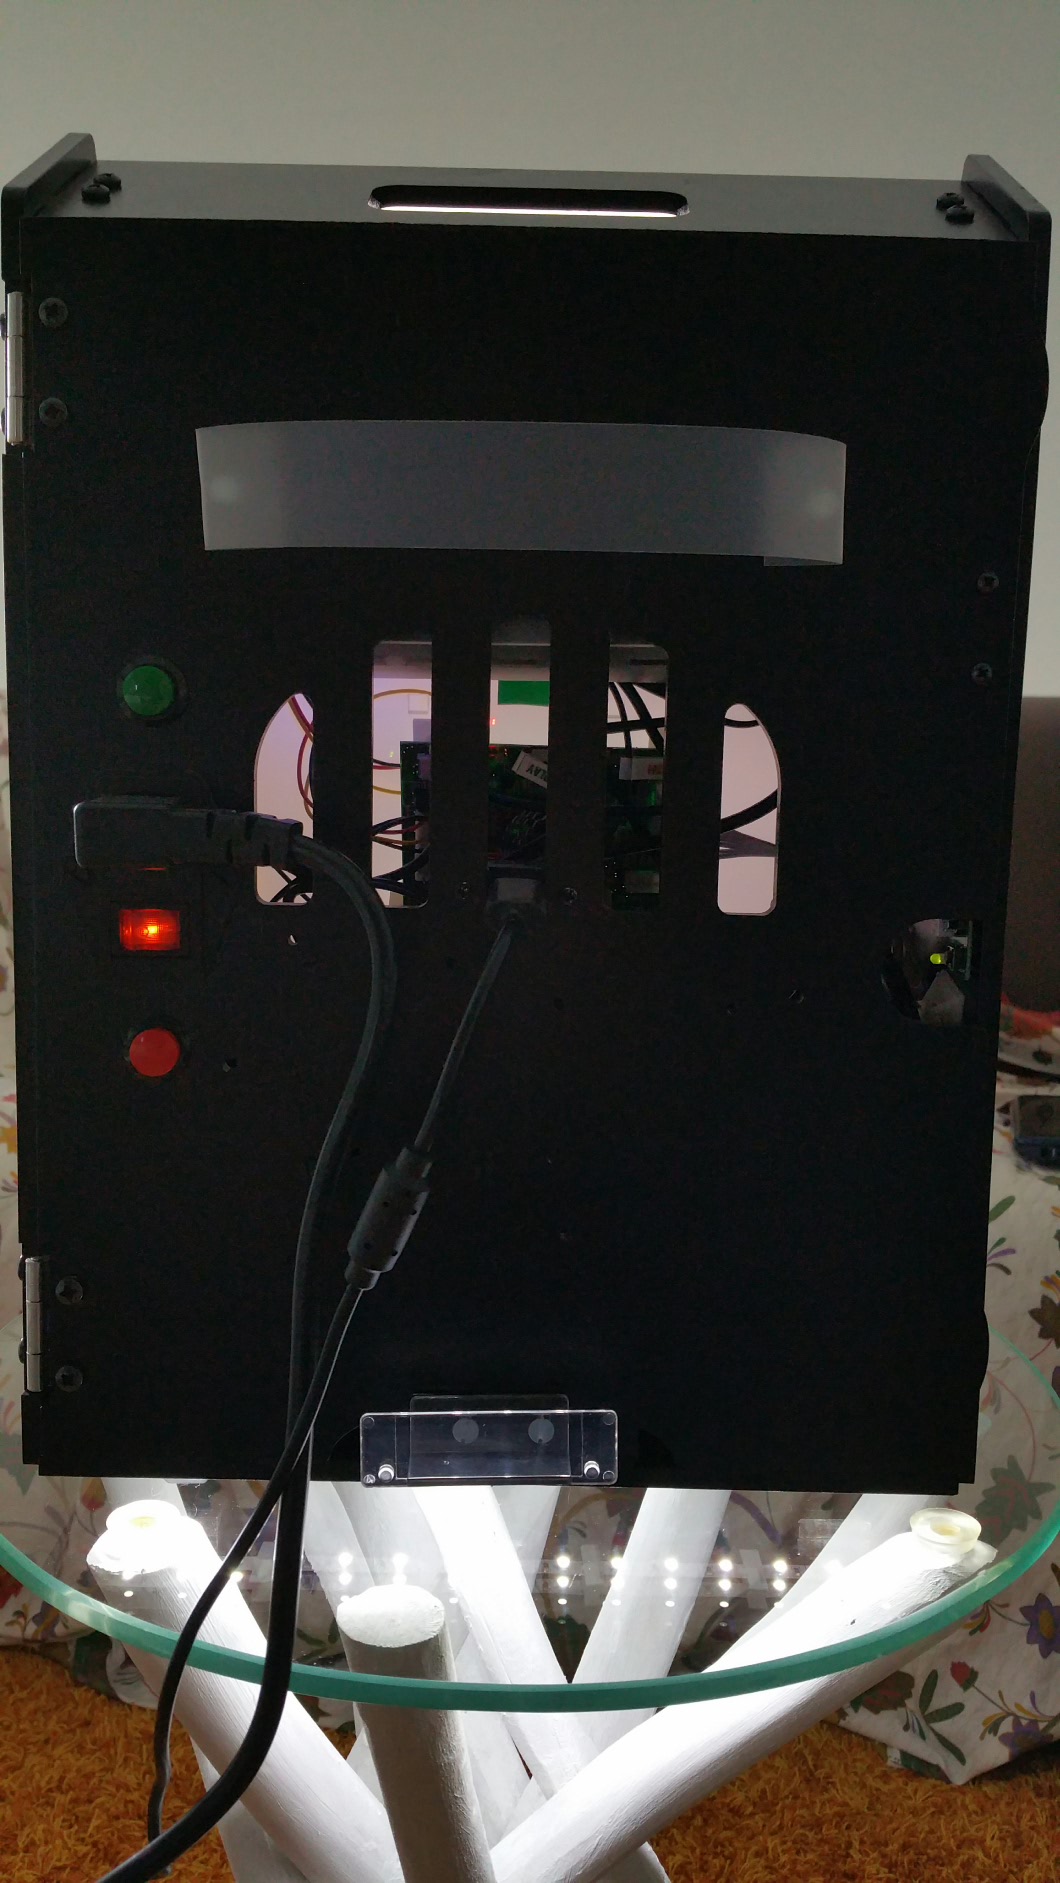
- backlit power switch
- UPS-Pico (micro UPS for Raspberry Pi: https://www.modmypi.com/raspberry-pi/breakout-boards/pi-modules/ups-pico)
- Amazon USB 3.0 7-port hub (12v/3A power supply)
- micro USB 2.0 hub (for 2.0 USB devices)
- Logitech keyboard + touchpad, which is stowed away as a “backpack” to the unit
- USB extender, to easily connect additional devices without opening (e.g. a X-Box gamepad)
The custom artwork for control panel, sides and marquee was printed on high-quality vinyl stickers by Vinyl Frontier (http://myvinylfrontier.com).
I have three separate power supplies inside for:
- Raspberry Pi-3
- Amazon USB3 switch (this power supply is also used for powering RGB LEDs and monitor)
- LED strip (marquee and bottom)
The most challenging part was fitting the ServoStik (with RGB stick) inside the unit.
First, I had to drill additional holes on the plate, to replace the original stick; then I had to use my Dremel to level the plate with the control panel and to accomodate the motor used by ServoStik to rotate joystick mechanism.
One of the side screws had to be replaced with a shorter one, for which I had to drill another hole and put a L bracket to fix it to the control panel.
Since the RGB stick is very tall, I had to drill a circular hole on the bottom of the Picade cabinet; I made the feet a little higher and closed the circular hole with a grid that I salvaged from a broken hairdryer. Higher feet are also useful for better light diffusion (from the LED strips below).
The marquee was also a little complex to make, because I did not want light to leak below on the screen.
For the software part, I’m using RGB Commander to change button colors as needed by game and emulator.
RGB commander is not used to pilot the servostick, at the moment; it is software controlled by a separate script that reads external buttons and change joystick configuration as requested.
I’m very satisfied of the result; I must thank my girlfriend Romina for being so patient and helping out when building it! :)