Just putting them together now but I feel there should be an appropriate case that protects them while letting all seonsors work.
Any suggestions of official cases or 3DP templates as my searches have come up nada.
Cheers,
Bode.
Just putting them together now but I feel there should be an appropriate case that protects them while letting all seonsors work.
Any suggestions of official cases or 3DP templates as my searches have come up nada.
Cheers,
Bode.
Thats one thing that can be a PITA when you build a Pi project. There are lots of cases for the Pi by itself, but add something too it and it now gets tricky protecting all your bits of tech.
One way to do it would be to start with a Pibow case. The Enviro pHat + should mount on top without too much trouble. Then mount a difusser on top of that with some standoffs.
This one may work.
Maybe not ideal but its the best I can come up with. The open sides should let air in so the sensors will work. Except the light sensor I guess. If you have a dremel tool you could cut one of the frosted diffusers down to fit. Still likely to affect the light levels some though I think.
Another option may be to buy two Pibow zero cases and use the clear bottom layer for a second top layer. With the extended bolts.
EDIT: Or drill a hole in the difusser right over the light sensor.
Something I knocked together for the spare pi zero I had, which happens to have a right angled header on it (which is probably why it’s always spare!)
Nice case.
I have Pi Zero’s with all manner of header configurations. I like having the option to pick which header I want to use.
Thats top notch, IMHO. =)
OK, I had started typing that I couldn not visualise how it would fitbut now I see the importance of the right angle header.
I don’t have one of those right now so for the initial prototyping stage I am going to fall back on my age old method of sorting through the various plastic boxes I keep that products come in,
Amazingly I just bought a pack of 60 magnets (and got another pack free for leaving a good review). The boxes they come in are an exact fit lengthwise: https://smile.amazon.co.uk/product-reviews/B07MMB2F45

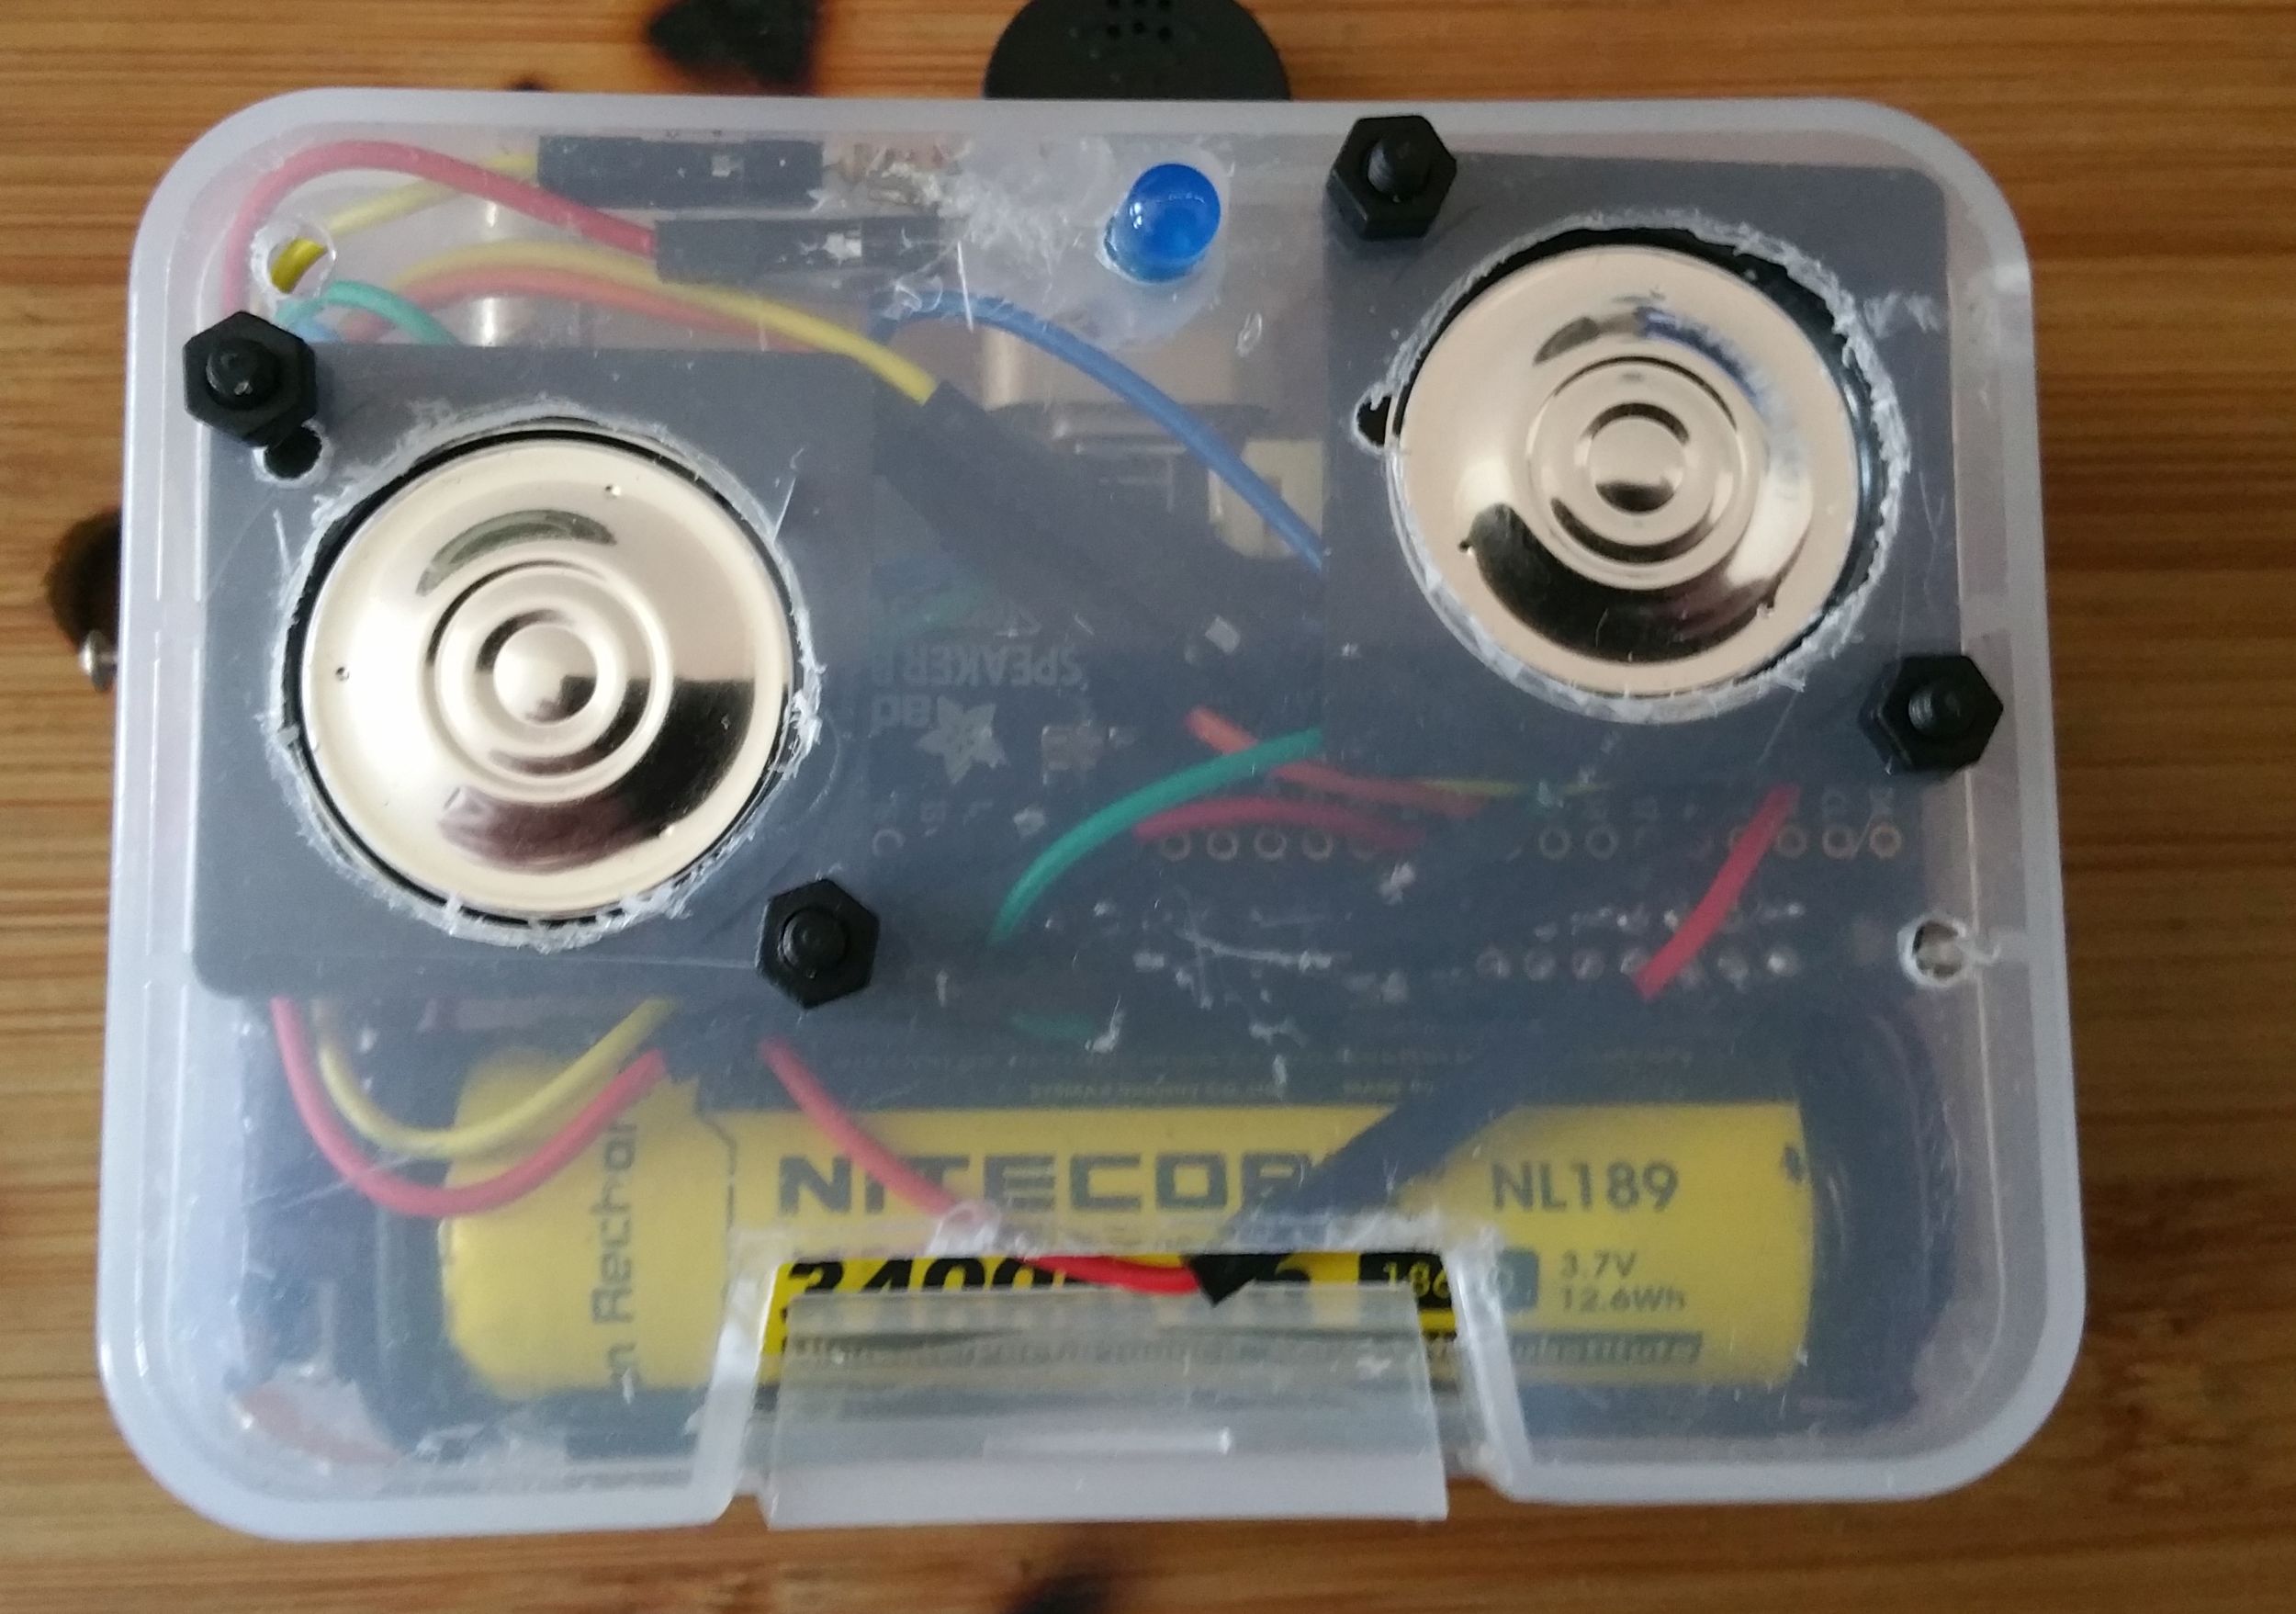
In the past a similar box came in handy for my portable battery powered Alexa box that responded to Gurtrude:
Ventilation becomes an issue where sensors are involved. Especially temperature sensors.
I have a portable weather clock originally based around a Pi A+ and sense Hat. I put a proto hat in between my Pi and Sense Hat to mitigate heat transfer from the PI SOC to the temperature sensor on the Sense Hat. Once I put it in a case even that didn’t help. I even drilled numerous vent holes in the case. I eventually had to resort to mounting a BME680 on the exterior of my case.
https://1drv.ms/f/s!AjOYwiwlwDtpgq8_0VrdS3_H5xL_AA
As I say, this is an initial solution but I would be cutting away much of the lid to keep all sensors and the screen open.
I’ll obviously have to cut away areas of the front to allow connections too.
I may initially just use adhesive velcro for the attachment of the particulate filter but that is a later stage.
I also quite like the home bodged look on transient solutions.
Hey have fun, didn’t want to “rain” on your parade. Pun intended, lol.
I’ve used the Pimoroni loot boxes for project cases in the past. You do need to get inventive some times to see what works and what doesn’t. I don’t own a 3D printer so I pretty well have to use what’s on hand and or what I can buy online.
I just wanted to pass on a few pit falls I ran into when doing stuff like this. Keep the pictures coming. =)
I’d be curious to know how well you can read that display from a distance. How far away you can be before you have to squint etc. Once you get it up and running and you get time to play with it, if you don’t mind. I have one on my wish list, still on the fence as to whether I will buy one or not.
If I am to outsource this for 3d printing what material do you reccomend for optimal cost/quality relationship, with the emphasis on the former?
I don’t have my own 3d printer and farm requests out to 3dhubs.com.
Cheers,
Rob.
Personally I use PETG for virtually everything as it has a mix of durability with relative ease of printing. Most commonly available will be PLA but it degrades and can become brittle.
What about ABS? Is that not suitable? I am only just getting into 3d printing tech and not having a printer myself have not asked questions until a project arises.
I have had one PLA case printed for a Pi with USB Stem. Brittleness should not be a problem on that but this is larger. I also noticed that the PLA one I had printed had the visible criss cross pattern of the printing strands.
I am also hoping that the room left below the Enviro+ will allow for a right angle header adapter over a soldered in right angle header.
Oh, the screen is very clear and readable using the default example scripts.
Ok thanks for that. I’m toying with buying just the display and a BME280. And maybe a few other of the Breakout garden boards like the RTC.
This is what I’m using now, a Pi A+, BME680, Si1145 and Sense Hat. My readings are displayed in a continuously scrolling message on the Sense Hat LED matrix.
Day, Dat, Time, Temp, Humidity, Pressure, UV index, wash rinse and repeat. =)
https://1drv.ms/f/s!AjOYwiwlwDtpgq8_0VrdS3_H5xL_AA
All my Pi build pics are here if you want a look see, its my Public One Drive folder. About the only thing Windows is good for :P ;)
This image does cover the perils of prototyping after the pub (I’ll nnot include the miage of the finger the Demel cutting disc landed on when dropped).
Also though the battery ran out and a contact spring had sprung on the charger so I am now Demel’less and could not be arsed on the edge cleanup but it will do for getting it up and running and testing.
The screen is much clearer than shown in the photo:

Viewing angle can really affect some displays. The Pi Foundation display suffers from that issue if you flip it 180 degrees.
I have my display flipped 180 degrees on my Sense Hat. That lets me stand it up, GPIO header on the bottom and power cable out the top. It helps the heat get out too. My indoor weather clock doesn’t have a case per say. Just some difussers mounted front and back as covers. The sides are all open.
I like to turn the speed down as low as possible on my Dremel, especially with plastics. Less chance of melting or burning, or it skipping across things.
For cutting square holes I usually drill four holes first, where the corners will be. Then connect the dots.
Sometimes rounded corners will work and look nice. If I do need sharp corners I’ll just file them square while I’m smoothing the edges.
Just a few things I picked up while doing stuff like this.
I’ve slowly added bits to my Dremel kit over the years. Cutting disks, the thin cut ones are the ones I like the best. Especially for cutting plastics. Sanding drums, ball mills etc. The ball mills are real tricky to use, for me they are anyway. They will zip across what ever your working on in the blink if your not carful.
Anyway, your project is shaping up nicely. I almost always enjoy the building part. The coding part not so much. Really satisfying when I’m finally done though. If I can leave it alone lol. I always seem to want to add something or change something so my code never seems to reach a final state.


